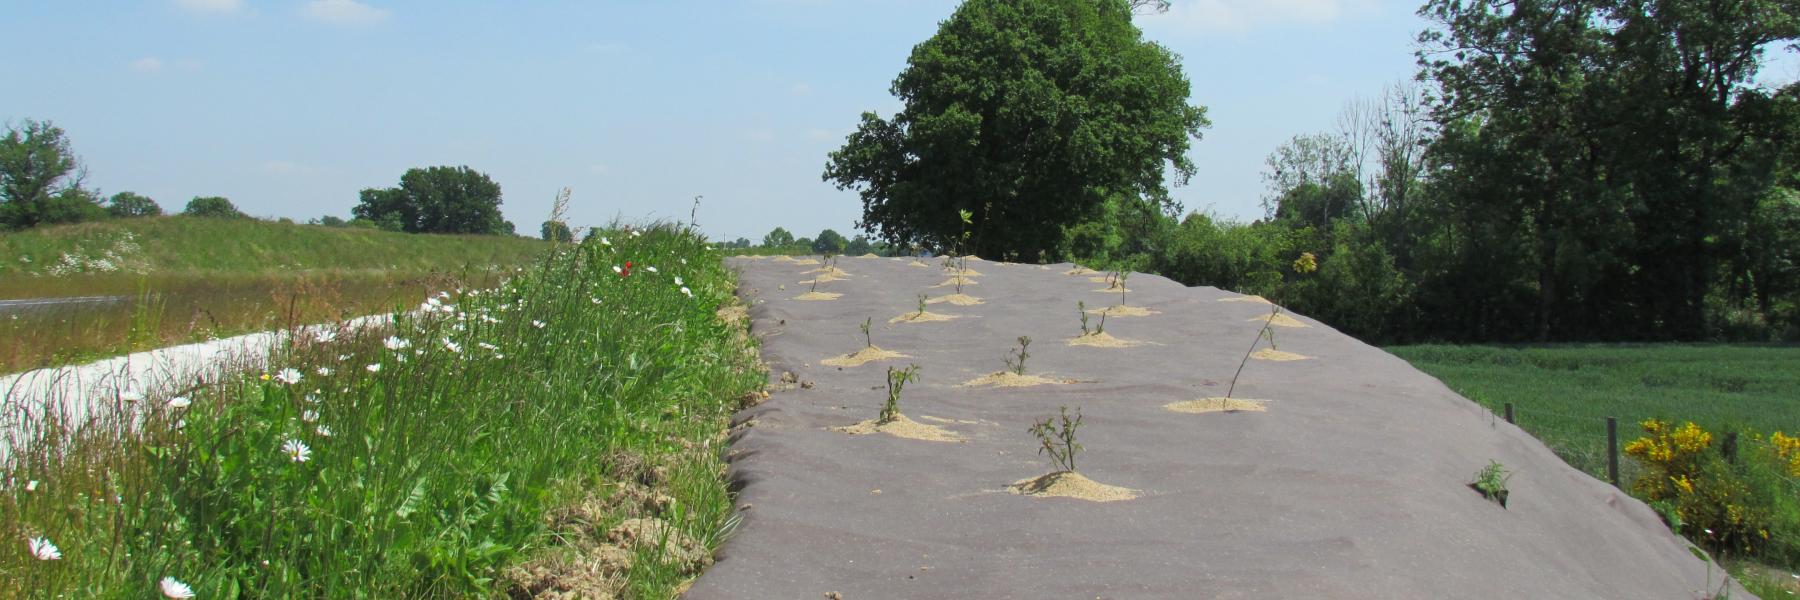
Installation Procedures
Manual Installation

Define the affected area
Define the affected area and measure and join rolls upon the requested number of sqm (take into account some extra metres - see step 5)
Preparation
- Free the surface of all plants, start at the outside and work inwards
- Cut all harder plant elements to the ground level, collect them and crush them, put all crushed pieces in the ground, pad and cover carefully with BioExtrem
- Even small amounts or parts of the invasive/aggressive plants or the rhizomes that are spoiled around the infected area will lead to further propagation (control your way of cleaning up plant elements and even your working tools)
Preparation
Take away stones or any sharp pointed object
Preparation
If the underground consists of hard plant elements then the soil top layer should be tilled properly (up to a depth of 15cm);
remaining sharp elements that can penetrate the mat should be taken away
Installation mat
- Cover 100% the infested site with BioExtrem and exceed with minimum 2m – dig in all sides for 80cm and position them vertically; so in all directions you should add 2,8m before cutting. Do not cut corners before folding in.
- Or alternatively exceed the contaminated area with 3m in all directions (to be judged in spring/summer/autumn when the infected zone is clearly visible)
Joints
- Thermo seal – make sure the total length has been fully sealed together
- Sewing:
- special Z-join: install 2 mats on each other > use pins + return the upper mat and cover the Z-join
- sew together with a double folded join
Finish
- Make sure there is good contact between ground and mat
- The mat should be covered with 15-20 cm of clean ground so the mat is kept to the ground
Finish
Saw grasses or weeds to minimize the risk of erosion of the stabilising soil layer
Follow-up
Annual follow-up for the next 3 years
Manual Installation (Bioweedstop)

Clear the surface and soil of all plants, weeds and tree roots. Remove or deactivate all plant residues in and on the soil.
Do not install bio mats on concrete, cement or highly alkaline substrates (pH > 12).

Level the surface and remove all sharp objects or debris that could penetrate or damage the mat.

Select the appropriate product weight according to the terrain and soil conditions.
For installation on steep slopes, the use of suitable safety equipment (e.g. a ladder) is recommended, as well as selecting a heavier product grade.
For very soft or unstable soils, heavier product grades are recommended.
Ensure that the mat is in close contact with the soil. Secure it carefully using:
- U-shaped metal pins (minimum 20 × 20 × 20 cm),
- dedicated wooden pegs (length: 30 cm, washer size: 10 × 10 cm), or
- by burying the edges of the mat at least 15 cm into the soil.
Recommended fixing density: approximately one pin per running meter in both the length and width directions. The overlaps and the center of the mat should also be secured.
Depending on local wind exposure and storm conditions, additional ground pins may be required.

Provide an overlap of 10% of the mat width or a minimum of 15 cm.
Install the fixing pins in the direction of the overlap. When positioning the overlap, take the prevailing wind direction into account.

Make cross-shaped planting openings. A Y-shaped incision is preferred over an X-shaped incision, as it minimizes the open surface around the plant.
All our bio nonwovens are UV-stable. Applying bark or untreated mulch on top of the mat may encourage the germination of airborne weed seeds.

Preferably the planting opening is be covered with treated bark or gravel. The use of untreated mulch is not recommended, as it promotes the growth of airborne weeds.
If not, carefully close the incision and secure it with one or more pins if necessary to minimize the exposed area around the plant.
Mechanical installation
Special roll dimensions for mechanical installation can be produced on demand. For example : rolls of 1.33 m x200 m