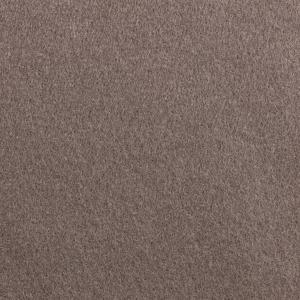
BioExtrem

Weed control mat / mulch mat for invasive plants and aggressive weeds.
Product Features
- Compostable on long term
- 100% made of renewable resources. The raw material is the biopolymer PLA, made out of plant material only
- Wind energy is used in the production process.
- Long lifetime
- Very UV-stable
- Blocks almost all light
- Natural aspect
Product Advantages
- Strong and effective mulch mat, no need for herbicides
- will block most of the aggressive weeds
- Compostable after a lifetime of minimum 7-10 years
- Permeable for water and nutrients – the soil stays healthy
- Low cost: very UV-stable, so can be left uncovered after installation - installation guidelines to be followed
- Minimal maintenance cost
- Easy to cut & install - installation guidelines to be respected
Manual Installation
STEP
1
Define the affected area
Define the affected area and measure and join rolls upon the requested number of sqm (take into account some extra metres - see step 5)
STEP
2
Preparation
- Free the surface of all plants, start at the outside and work inwards
- Cut all harder plant elements to the ground level, collect them and crush them, put all crushed pieces in the ground, pad and cover carefully with BioExtrem
- Even small amounts or parts of the invasive/aggressive plants or the rhizomes that are spoiled around the infected area will lead to further propagation (control your way of cleaning up plant elements and even your working tools)
STEP
3
Preparation
Take away stones or any sharp pointed object
STEP
4
Preparation
If the underground consists of hard plant elements then the soil top layer should be tilled properly (up to a depth of 15cm);
remaining sharp elements that can penetrate the mat should be taken away
STEP
5
Installation mat
- Cover 100% the infested site with BioExtrem and exceed with minimum 2m – dig in all sides for 80cm and position them vertically; so in all directions you should add 2,8m before cutting. Do not cut corners before folding in.
- Or alternatively exceed the contaminated area with 3m in all directions (to be judged in spring/summer/autumn when the infected zone is clearly visible)
STEP
6
Joints
- Thermo seal – make sure the total length has been fully sealed together
- Sewing:
- special Z-join: install 2 mats on each other > use pins + return the upper mat and cover the Z-join
- sew together with a double folded join
STEP
7
Finish
- Make sure there is good contact between ground and mat
- The mat should be covered with 15-20 cm of clean ground so the mat is kept to the ground
STEP
8
Finish
Saw grasses or weeds to minimize the risk of erosion of the stabilising soil layer
STEP
9
Follow-up
Annual follow-up for the next 3 years
Weight
40
